You can now see a list of all users that have been posted as well as which user profiles they have and which companies they have access to. If you know that you have posted a profile but you cannot find it, it may be worth putting a checkmark in Visa Låsta Användare (View Locked Users) since users who have entered an incorrect password several times lock themselves and then disappear from the list. Old users, too, are hidden there.
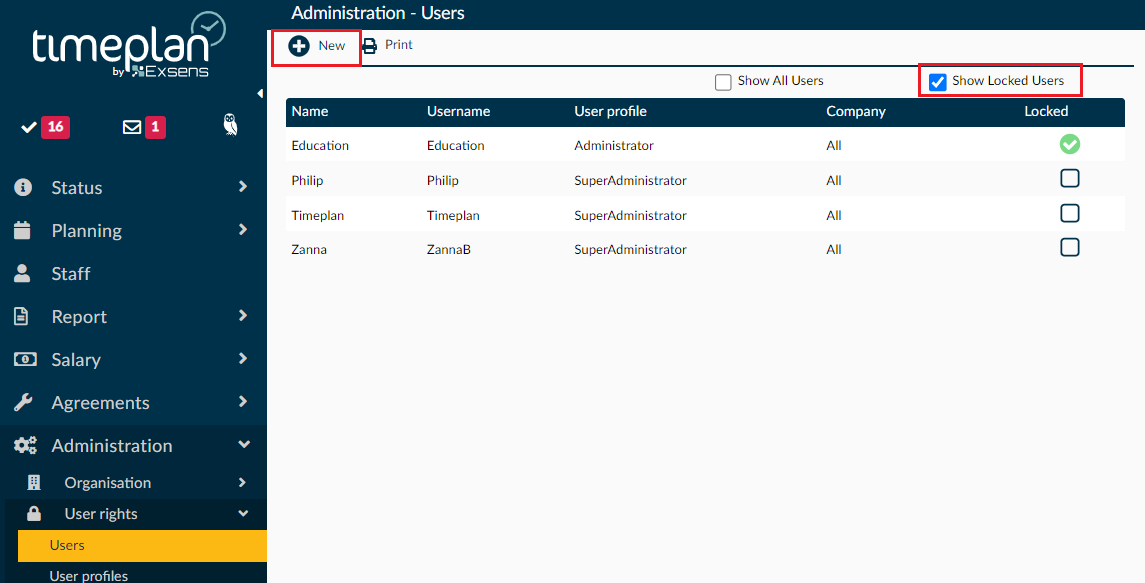
To create a new administrator, press New+.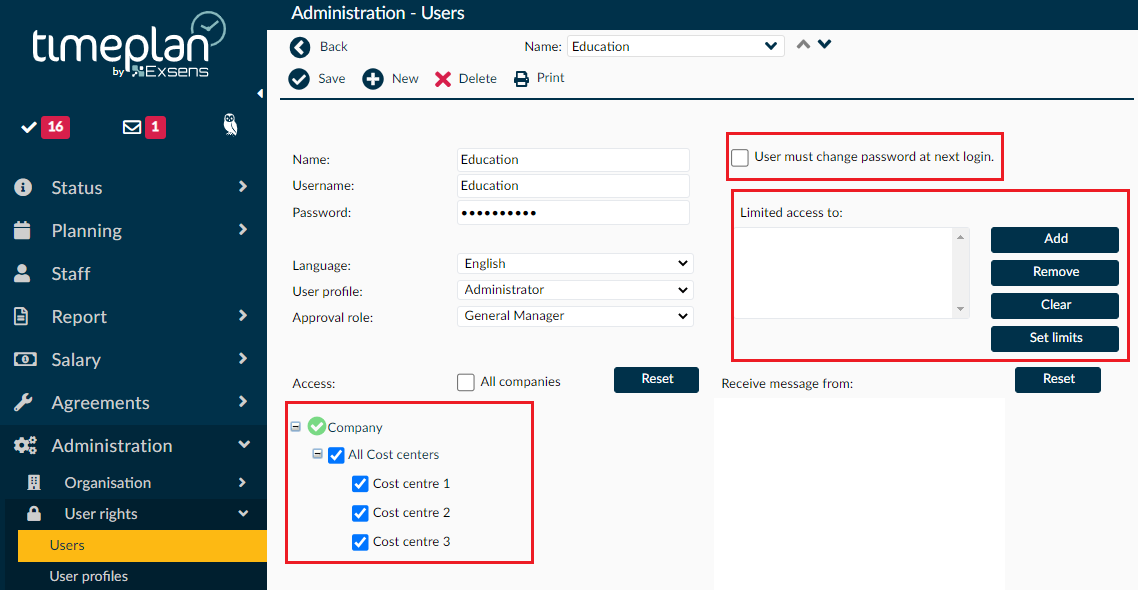
Under Name, enter the first and last name of the person. The username is the name used for logging in. We usually recommend setting a temporary password and then putting a checkmark to allow the user to change password at the next login. You can also choose the language (Swedish or English).
Under User profile select which administrator profile the user should get and under Approval role select which level the person should be allowed to certify at.
Below this you can choose which company/companies the user will have access to. You can limit yourself to specific cost centres or choose the entire company. To the right of this, you can put a checkmark in or remove the checkmark to determine whether the user should receive messages from the company. This applies to error messages such as time stamp errors or deviation codes, not personal messages, so we usually recommend not putting a checkmark.
You can place restrictions on the user so that the user cannot change anything by themselves, such as stamps or certifications.
Once you are satisfied with your choices, press Save.